Go Mic Mobile: Five Tips to Maximize your Audio
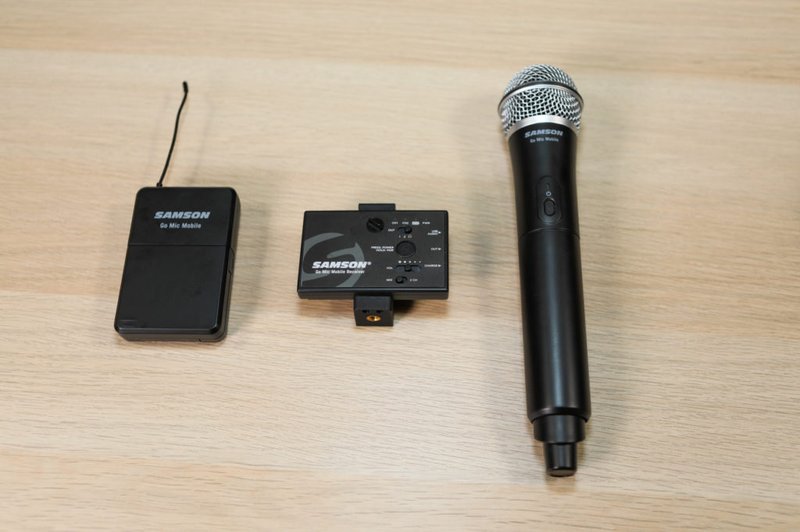
The Samson Go Mic Mobile is a revolutionary product that allows for crystal clear wireless recording to a smartphone in an incredibly compact and portable size. The ability to utilize two wireless transmitters with a receiver that fits in your pocket is both convenient and efficient. After working with the Go Mic Mobile for a few weeks, here are my Top 5 tips for getting the most out of your system!
1. Set the (Gain) Stage
Setting the gain stage of your Go Mic Mobile, along with that of your recording device, is incredibly important. You’ll want to adjust the gain of your Go Mic Mobile transmitter (handheld or beltpack) until you have a good, solid level that doesn’t ‘clip’ or overload. You can verify this by turning up the gain on the transmitter until the corresponding CH peak light on the receiver flashes red, then turn the level down until it stops flashing red. Using the built-in monitor output with a pair of headphones is also a good way to check your gain levels. You’ll also want to check the gain on the input of your recording device. When connecting to a mobile device like a phone or tablet, try to utilize the USB digital connection for the best sound quality. It’s best to use an app like Filmic Pro or MoviePro for visual input monitoring. If you’re connecting to a DSLR, your microphone input will likely have a gain setting that you can adjust to your liking.

2. Mix it Up
One of the best features of the Go Mic Mobile is that you can utilize two transmitters with a single receiver. If you’re recording two interview subjects, you can record the microphones separately for editing later, or you can mix them together right on the Go Mic Mobile’s receiver. The choice is yours! Keep in mind that if you use 2CH mode, one microphone will be panned ‘hard left’ and the other ‘hard right’ in the video file. Use your favorite video editing software to pan them center and adjust the levels of the two microphones to your liking.

3. Don’t Squeeze Your Data
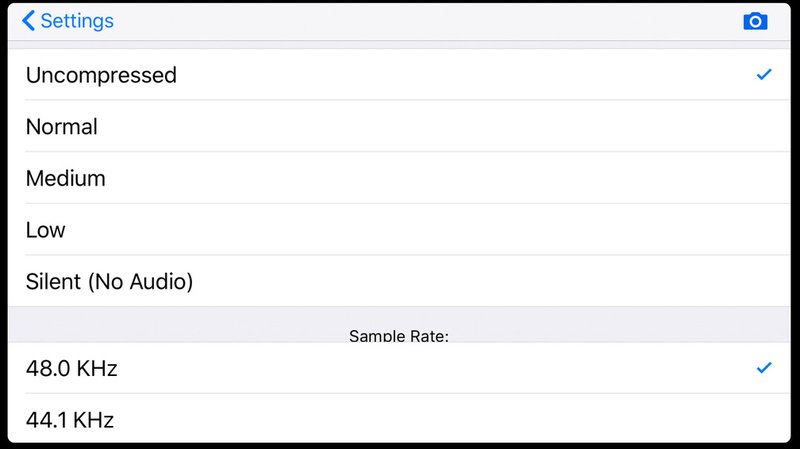
Go Mic Mobile operates and transmits digitally on the 2.4GHz wireless spectrum, and that means lots of dynamic range and space for your audio. You can record completely uncompressed at 48kHz, and you’ll want to try to record to a source that can utilize this. Often on a mobile device, the default recording or voice notes application can really compress your sound and take away some of it’s richness. Consider using a third party app that allows you to record to a full-quality, uncompressed format such as WAV or AIFF.

4. Monitor Your Work
I’ve already discussed setting the gain, but did you know that monitoring levels can be just as important? Think about how you plan to monitor your recording signal on your video shoot. If you monitor from the headphone jack on your mobile device or DSLR, you may hear a delay in the sound as it is processed by your device. This can be distracting while recording, which is why Samson made it simple to connect your headphones directly to the Go Mic Mobile Receiver and monitor your audio from there when utilizing a digital connection.

5. Mix Like a Pro
Dual interview subjects are not the only time you’ll want to utilize the 2-microphone capability of your Go Mic Mobile. When filming outdoors or anywhere ‘on location’, it’s often helpful to capture some of the ambient audio in the surrounding area for color and atmosphere. If you’ve got a single interview subject, try putting the Go Mic Mobile in 2 CH mode, attach the lav mic to your subject and use a second Go Mic Mobile transmitter to pick up some sound from the surrounding area. You can then carefully mix it back in at the ideal level to craft a perfect audio mix in post-production.

